Customize My Site
Personalize your online member experiences with the power of Spendgo, while keeping your brand at the forefront.
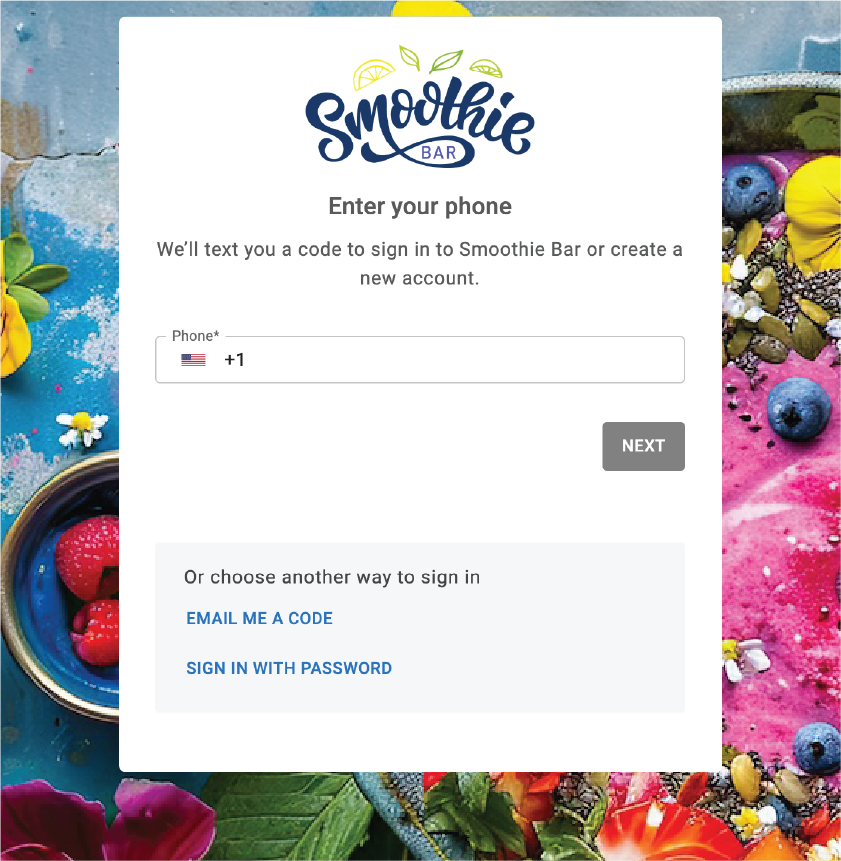
Example site with custom logo and background.
Things To Know
Changes to your branding may take up to 4 hours to show.
For more customizations, we recommend integrating with our Spendgo APIs. Contact your Customer Success Manager for more details.
To view and update your site’s branding, you must be an Admin or Marketing Manager user.
Customize My Sign In / Create Site
Set My Logo
The Logo is displayed at the top of the Sign In/Create form.
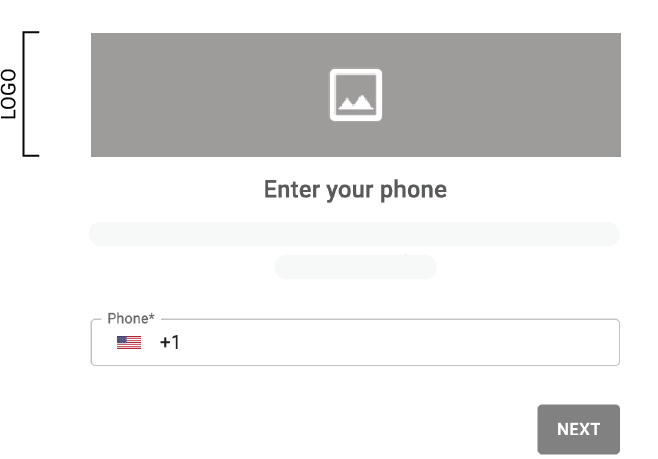
Logo always positioned at the top of the sign in and sign up forms.
Specifications
Dimensions: 320 pixel W x 104 pixel H
File Format: PNG
File Size: Use images 500 KB or less to help your site load quickly.
Resolution: 120 MP (megapixel) limit
Instructions
In your Dashboard, go to Settings / Branding / Logos.

In the Logo Image field, drag and drop or upload your image file.

Click Save.
Set My Square Logo
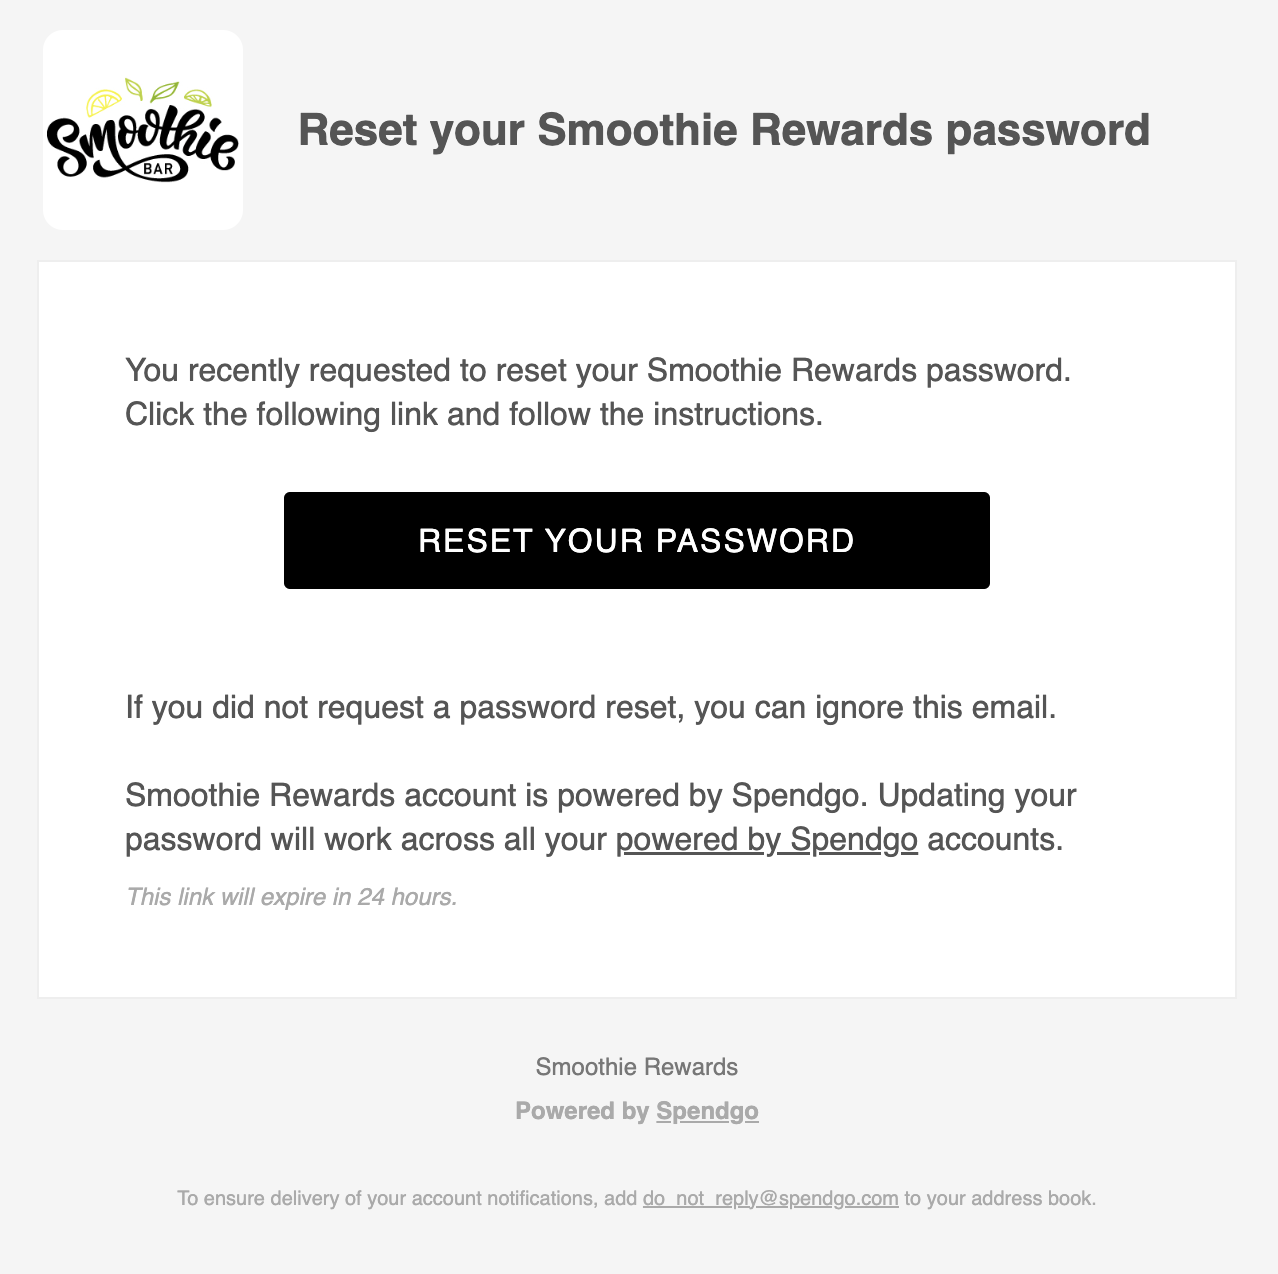
The Square Logo is used as a thumbnail in some screens.
It is also used for email communications – such as the email verification, password reset emails. Spendgo-powered email notifications are used only in mobile integrations that are not currently using the new Passwordless APIs, as well as in the reset password function triggered from the Dashboard Support portal.
Specifications
Dimensions: 150 pixel W x 150 pixel H
File Format: JPEG
File Size: Use images 500 KB or less to help your site load quickly.
Resolution: 120 MP (megapixel) limit
Instructions
In your Dashboard, go to Settings / Branding / Logos.

In the Square Logo Image field, drag and drop or upload your image file.

Click Save.
Set My Background Image
The Background Image is an optional image located behind your Sign In/Create form and Promo Image. Parts of the image may get cut-off or covered depending on your browser width. If you do not include an image the background will be white.

Example background image lays behind the form.
Specifications
Dimensions: 1500 pixel W x 1500 pixel H
File Format: PNG
File Size: Use images 500 KB or less to help your site load quickly.
Resolution: 120 MP (megapixel) limit
Recommendations
Don't use images with text in the actual image file. It may get covered by your Promo Image or Sign In/Create form. Use the Promo Image instead to display promotional text.
Please note, we will continue to support images that do already have text in their Background Image and follows the Background Image Template; however, we recommend using the Promo Image to avoid any cropping in certain browser widths.Keep the background simple or an abstract pattern. It should not distract from the Sign In/Create form which is the primary objective of the site.
Instructions
In your Dashboard, go to Settings / Branding / Sign In/Create.

In the Background Image field, drag and drop or upload your image file.

Click Save.
Set My Promo Image
The Promo Image is an optional image that is a good way to promote your program, market its benefits and/or how-it-works. If you do not set a Promo Image, the Sign In/Create form will be centered in the browser screen.
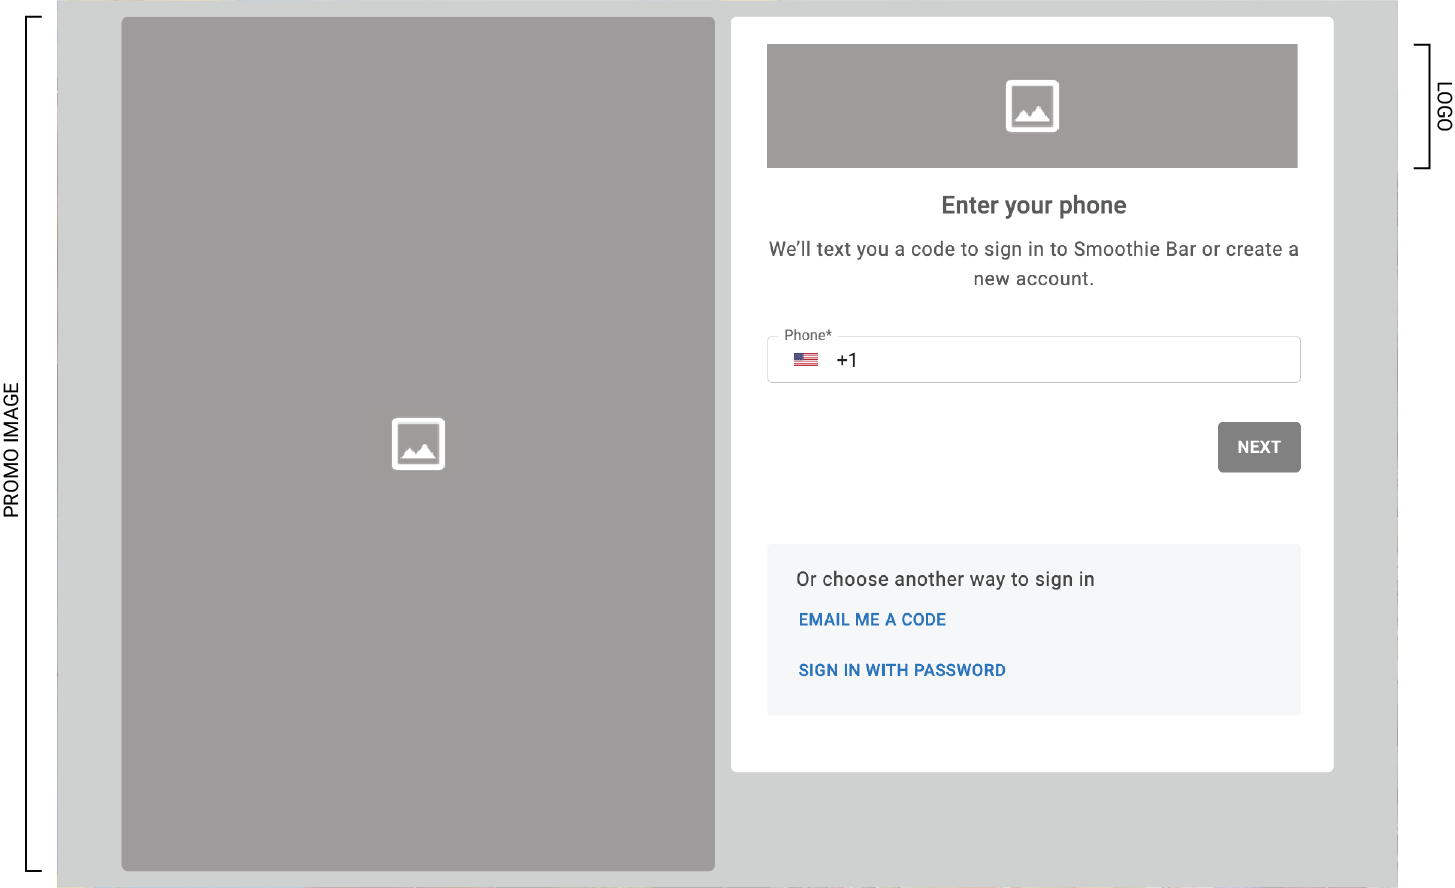
Example of the layout with the Promo Image enabled.
Positioned left of form in desktop and tablet browsers.
Specifications
Dimensions: 500 pixel W x 720 pixel H
File Format: PNG
File Size: Use images 500 KB or less to help your site load quickly.
Resolution: 120 MP (megapixel) limit
Instructions
In your Dashboard, go to Settings / Branding / Sign In/Create.

In the Promo Image field, drag and drop or upload your image file.

Click Save.
Set My Custom Footer
The Custom Footer allows you to add your own legal or text displayed below your Sign In/Create form.
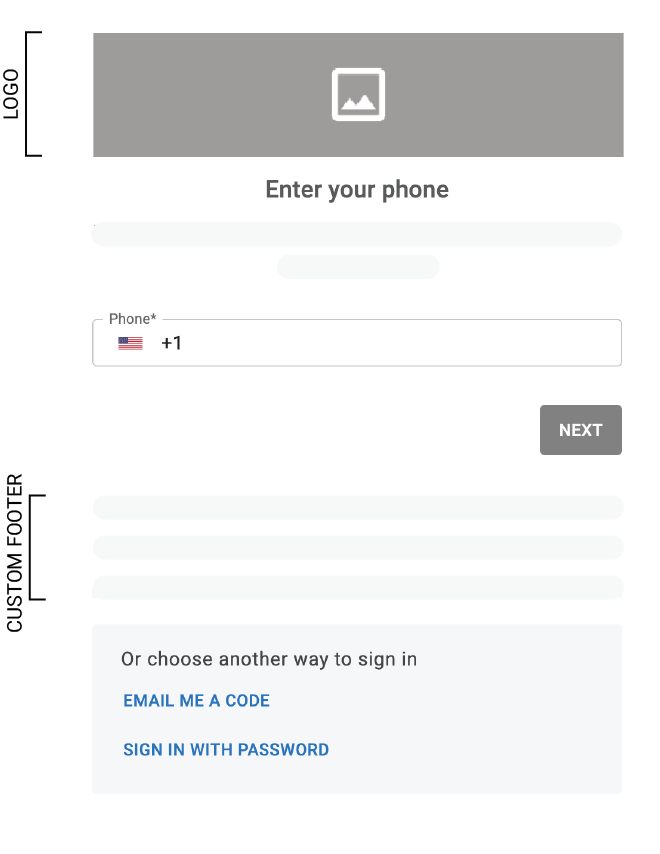
Example of the Custom Footer position beneath form.
Instructions
In your Dashboard, go to Settings / Branding / Sign In/Create.

Enable the Footer Text.

Enter your custom Footer Text in the text editor.
Please note, paste only plain text into the editor to ensure consistent style and formatting on the customer's screen. You can ensure the formatting is cleared by cleared by clicking the ✖️ button.Click Save.
Disable My Custom Footer
In your Dashboard, go to Settings / Branding / Sign In/Create.

Turn off the Footer Text.

Click Save.
Set My Email or SMS Opt-In
Setting the Email or SMS Opt-In displays checkboxes for each respective channel to be collected during the customer’s account creation. You can also customize the message displayed in the form to include your own legal disclaimer.
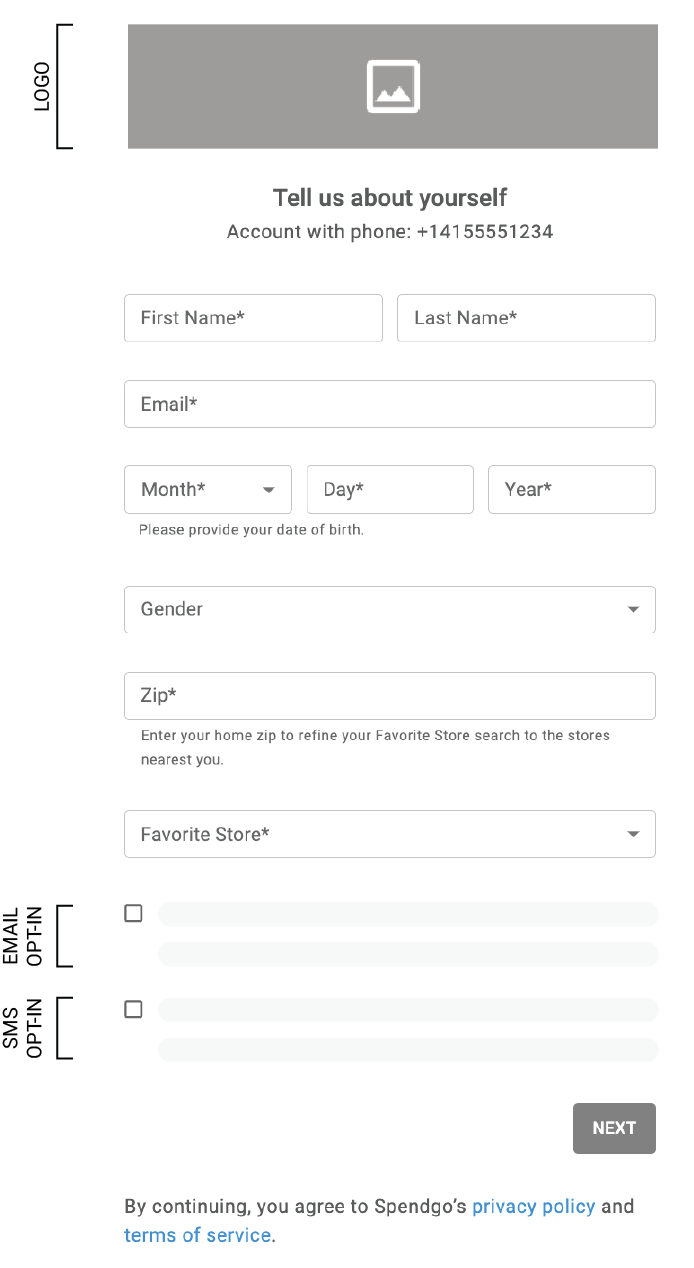
Example of the Email and SMS Opt-In checkboxes enabled.
Recommendations
Keep your disclaimer text clear, concise, and specific to the communications your customers can expect from the specific channel.
Do not enable the channel Opt-In in your form unless you have the channel integration also enabled.
Instructions
In your Dashboard, go to Settings / Branding / Sign In/Create.

Enable the Email Opt-In and/or SMS Opt-In.


Enter your custom Text in the text editor.
Please note, paste only plain text into the editor to ensure consistent style and formatting on the customer's screen. You can ensure the formatting is cleared by cleared by clicking the ✖️ button.Click Save.
Disable My Email or SMS Opt-In
In your Dashboard, go to Settings / Branding / Sign In/Create.

Turn off the Email Opt-In and/or SMS Opt-In.


Click Save.
Customize My Member Portal
Set My Banner Image
The Banner Image appears at the top of the Spendgo powered Member Portal. The image you provide will fill the top 280 pixels of the page. It scales proportionally to fit your browser width and may be cropped, but will never be distorted to fit this space.
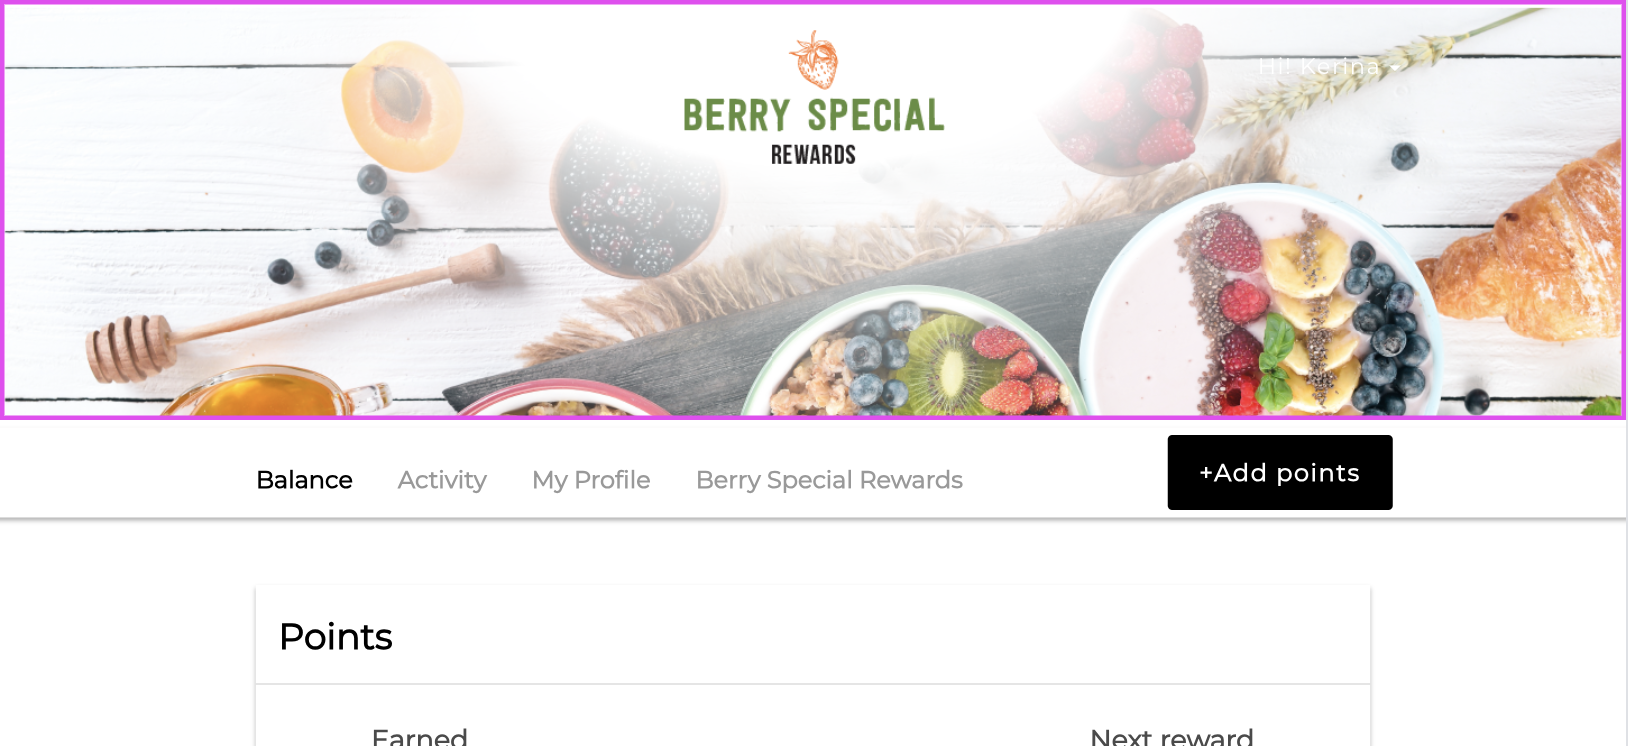
Example of the Banner Image in Member Portal
Specifications
Dimensions: 1440 pixel W x 462 pixel H
File Format: PNG
File Size: Use images 500 KB or less to help your site load quickly.
Resolution: 120 MP (megapixel) limit
Recommendations
For best results on desktop and mobile devices, use the Banner Image Template to avoid any cropping.
Instructions
In your Dashboard, go to Settings / Branding / Member Portal.

In the Banner Image field, drag and drop or upload your image file.

Click Save.
Set About Details
Tell your Members all about your program and how it works.
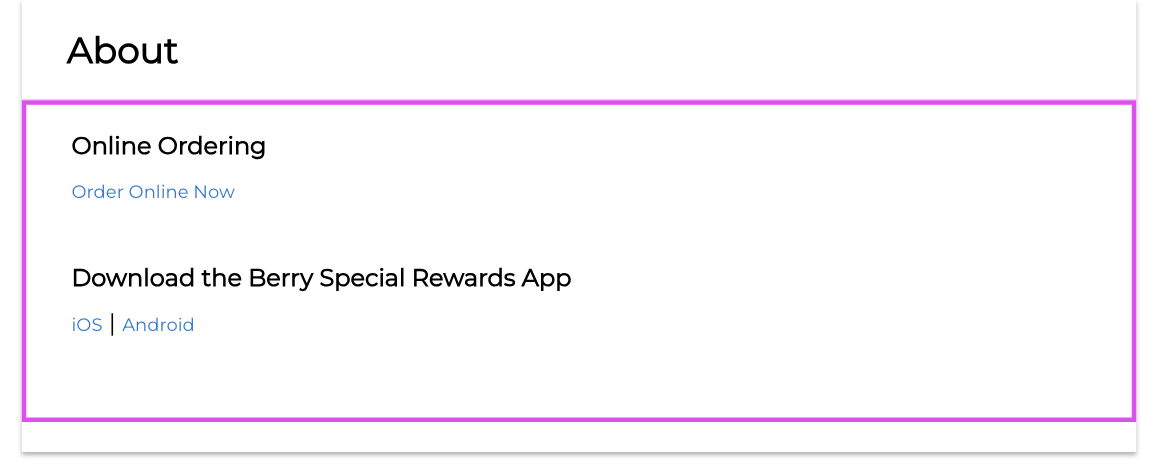
Example text displayed in the About section of Member Portal
Instructions
In your Dashboard, go to Settings / Branding / Member Portal.
Enter your custom About text in the text editor.

Please note, paste only plain text into the editor to ensure consistent style and formatting on the customer's screen. You can ensure the formatting is cleared by cleared by clicking the ✖️ button.
Click Save.
