Manage Your Item Qualifiers
Item Qualifiers define which items can earn points in your loyalty program. You can use them to either include or exclude specific products from earning points based on your program rules. For example, if alcohol items should not earn points, you can upload a list of alcohol items to exclude them. This ensures that only eligible purchases contribute to loyalty rewards, helping you maintain compliance and align with your program’s goals.
Each account has a single Qualifier Item List, which determines whether listed items earn or do not earn points. This list functions as either an allow list (only listed items earn points) or an exclusion list (only listed items do not earn points).
If set to earn points, any item not on the list will not earn points.
If set to not earn points, any item not on the list will earn points by default.
This restriction applies only to base point earnings and basket-level bonus point offers. Item-level bonus points are awarded based on their own item groups defined in the campaign settings. However, if items are blocked by this restriction, they’ll receive only bonus points—not base points.
Additionally, you can configure your loyalty rules to allow discounts on all items or only on items that are set to earn points. This provides flexibility in how discounts and point eligibility work together within your program.
Things to Know
You must have Admin permission to manage your Loyalty settings.
During the onboarding process of your loyalty program, you will decide whether to use Item IDs or Item Labels as the unique identifiers for earning rules and offer qualification. Once selected, you must consistently use the same option when setting up Item Groups and Item Qualifiers.
If in your system you have an Item ID associated with multiple Item names, we recommend using the unique Item Name in your qualifier Item Group. If you use the Item ID, it will qualify all items associated with that Item ID.
Item details may contain leading or trailing spaces. Please ensure they are properly formatted to match your system.
Making changes to your Item Qualifier settings after launching your loyalty program is not advisable without clear communication to your members. Adjusting which items earn points can lead to confusion and impact member expectations. To maintain trust and transparency, ensure any major changes are clearly explained to members in advance.
You can download a list of your inventory items by going to Insights / Export Data and generating a Inventory List report. You can use this as a reference for what items have been loaded to your Loyalty system to date. When opening a Downloaded CSV Report file of your Items from the Dashboard in Excel, it's often better to import the data rather than directly opening the file. This allows you to specify the correct encoding (UTF-8) and delimiter settings.
Formatting Your Item List
Saving your CSV file
Your file must be in a comma-separated value (CSV) format. We recommend saving as a UTF-8 file to preserve any special character formatting. Be cautious when saving CSV files from Excel, as it may change the encoding to a non-UTF-8 format. If possible, use "Save As" and explicitly choose "CSV UTF-8 (Comma delimited) (*.csv)".
Please follow these file formatting header rules before uploading your Items:
The header should always be present. The column header is:
item - The Item Label (unique human-readable name) or Item ID (unique identifier) is a minimum requirement.
Upload/Overwrite Your Item(s)
Navigate to Settings / Loyalty.
Click the Upload :upload: icon.
Upload your formatted CSV file containing the your item settings and Save Changes.
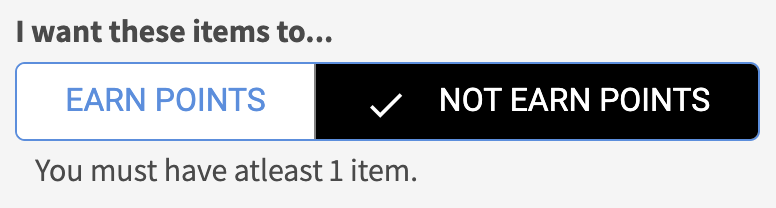
IMPORTANT: Your file must follow the Formatting Your File guidelines.Select whether your list will earn or not earn points.
• I want these items to earn points – Only the listed items will earn the base points or basket level bonus points.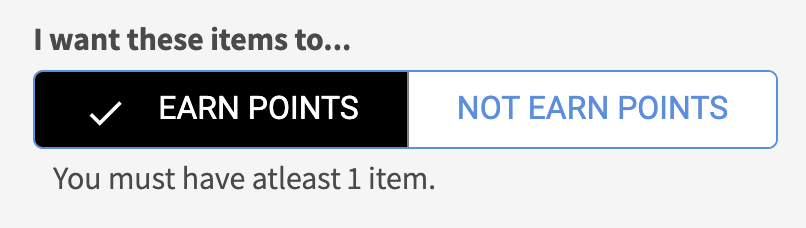
• I want these items to not earn points – Only the listed items do not earn the base points or basket level bonus points.
Add an Item
Navigate to Settings / Loyalty.
Click the Add ➕ icon to add a new item row.
Enter your Item details with the Item Label or Item ID.

Click the green check mark ✔️ to add your Item row. Click the red ✖️ to cancel the add.
Delete Item(s)
You must have at least 1 item in your list. If you want to update all the items in a list, we recommend following the Upload/Overwrite Your Item Qualifiers steps.
Navigate to Settings / Loyalty.
Select the checkbox next to any item(s) you want to remove.

Click the Delete :delete: icon.
Confirm your deletion of selection item(s).
Restricting Discounting on Items
Define whether discounts apply to all items in your inventory or to only the items qualified to earn points. In the examples below, the “Cocktail” item is excluded from earning points.
The 'Apply Discounts' restrictions apply only to basket-level offers. Item-level offers determine eligible items based on their own item groups defined in the campaign settings.
Example - A $5 basket level Offer with Apply discounts set to “all items”
In this example, the full $5.00 discount is applied to the order because the discount can be applied to all items.
1x Coffee $2.50 1x Cocktail $10.00 Discount - $5.00 Subtotal $7.50 |
|---|
Example - A $5 basket level Offer with Apply Discounts set to “Only Qualified Items”
In this example, the cocktail item doesn't qualify for points and therefore isn't eligible for discounts under the 'Only Qualified Items' setting. As a result, only $2.50 of the $5.00 offer applies to this order. If there were two coffees (or two qualified items), the full $5.00 discount would be applied.
1x Coffee $2.50 1x Cocktail $10.00 Discount - $2.50 Subtotal $7.50 |
|---|
Example - A $5 item level Offer with Apply Discounts set to “Only Qualified Items”
In this example, the cocktail receives an item-level discount of $5. Because this is an item-level offer and the cocktail item is included in the campaign's reward item group, it overrides the general 'Apply Discounts' setting of 'Only Qualified Items'.
1x Coffee $2.50 1x Cocktail $10.00 Discount - $5.00 Subtotal $10.00 |
|---|
Set Discounting Rules
Navigate to Settings / Loyalty.
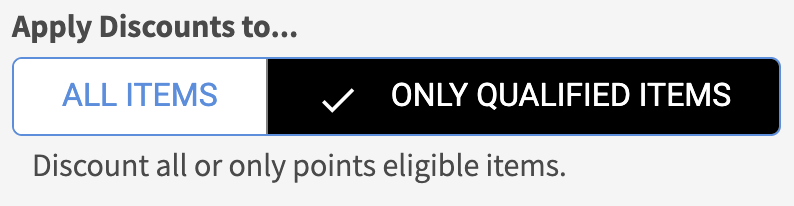
Toggle whether discount offers apply to all items or only qualified items.
• Apply discounts to all items – Basket level discounts will apply to all items that meet the qualifying offer rules, regardless of whether they earn points.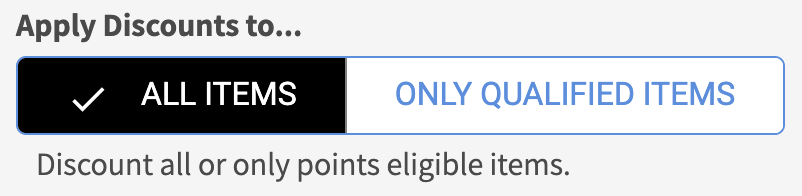
• Apply discounts to only qualifying items – Basket level discount will apply only to items that are eligible to earn points. However, item level discounts well defer to the individual campaign’s item group settings.
If changing the discount settings, a pop-up will appear. Confirm you want to change your discount setting.
IMPORTANT: When changing which items discounts can be applied to, it is advisable to communicate these changes to your members prior to making the change to avoid confusion.