Dollar Discount ($) Offer
Use a Dollar Discount ( $ ) to give a discount on your order total.
Examples
$5 off an entire purchase of $100 or more
Increase your average ticket spend with an incentive to spend and save more.$20 off with purchase of qualifying items
Drive members to try new items or sell excess inventory in order to redeem their offer.$5 off for every 50 points
Build loyalty and repeat business with offers your member’s can expect.
Learn more here: Example Offers & Item Groups
Things to Know
The dollar discount value is deducted from the basket subtotal less any exclusions. If the subtotal is less than the value of the offer, the difference is lost. For example, a $10 off is applied to a $7 purchase, the discount will be $7 and the $3 will be lost to the member.
Dollar discount offer type is not available for the Purchase Total campaign automation. If you’re looking to create a dollar discount based on a member making a purchase, use the alternate method by creating a Recurring campaign offer targeted to an audience based on when their last visits (i.e. purchases) were made.
Create a Dollar Discount ( $ ) Offer
Navigate to Campaigns / Create.
Choose your Automation and click Next Step.

Choose the Offer action.
Notes: some automation will automatically navigate you to the offer setup when no other action options are available.
Choose Discount ( $ ) as your Offer Type.

Define your offer parameters.
See Dollar Discount ($) Offer Configurations for details on how to configure your offers.
Notes: the campaign builder will determine for you which fields are required and options for your offer type selection. Enter all required fields displayed.Click Next Step.
Set your target audience.
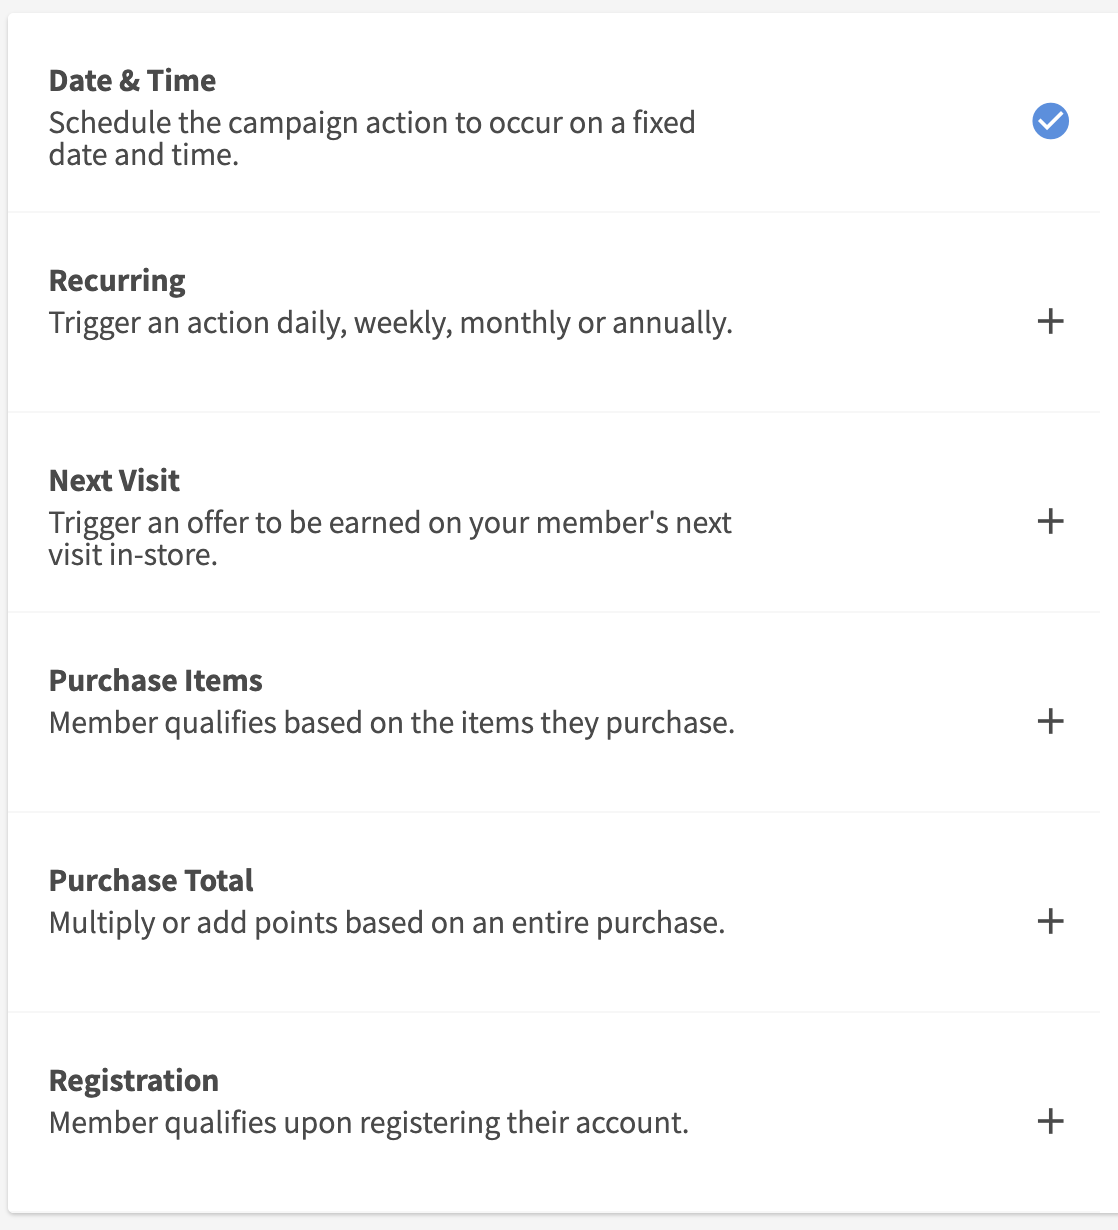
Notes: the audience step is only relevant for Date & Time and Recurring automation types. All other automation types are triggered based on when the member meets the event criteria.To target all members, leave the audience Segment OFF.

To target a specific audience, turn Segment ON. Select an existing audience or create a new audience within the builder.

Click Next Step.
Enter a unique Campaign Name for your internal reference.

Schedule your campaign Start Date and time.

(Optional) Schedule your campaign End Date and time. If this is not defined, you campaign will be ongoing with no end date.

Review your campaign details and click on Schedule to create your new campaign.

Dollar Discount ($) Offer Configurations
Below is a list of all the configurations available for a Dollar Discount Offer. See Offer Configuration Options for details on how to configure your offers.
Field | Type | Required | Description | Example / Notes |
|---|---|---|---|---|
Offer Type | Dropdown | ✅ Yes | Defines the type of offer being created. | You’ve selected Discount ($). |
Available | Checkbox Group | ✅ Yes | Determines if the offer is valid in-store, online, or both. | Supports dual environments. |
Offer Name | Text Input | ✅ Yes | Short internal name for the offer; must be concise. | Caution: longer names may not display in integrations. |
Offer Description | Text Input | ✅ Yes | A brief explanation of what the discount offer does. | Include any conditions or restrictions. |
Offer Value | Text Input (Numeric) | ✅ Yes | The fixed dollar amount to be discounted. | Example: |
Discount Code | Text Input | Optional | POS discount code, if applicable. | Used to map discounts with in-store or online systems. |
Qualifying Rule | Radio Button | ✅ Yes | Applies the rule to either the Basket or a specific Item. | Select based on whether discount applies to the basket total or to items. |
Qualifying Item Group | Dropdown | ✅ if “Item” | Defines which items trigger the discount. | Appears only when Item is selected as Qualifying Rule. |
Reward Item Group | Dropdown | ✅ if “Item” | Defines which items the discount is applied to. | Appears only when Item is selected as Qualifying Rule. Learn more about Item Groups. |
Single or Multiple Use | Radio Button | ✅ Yes | Choose whether members can use the offer once or multiple times. | Select |
Multiple Use Limits | Dropdown + Inputs | Optional | Restricts redemptions within a specific time frame. | Example: 1 use per 2 hours. Leave blank for unlimited. |
→ Limit Type | Dropdown | ✅ (if used) | Time unit for limits (e.g., by hour). | The only option is |
→ Number of Uses | Integer | Optional | Max redemptions allowed in the selected window. | Example: |
→ Time Window (in hours) | Integer (1–24) | Optional | Time frame (in hours) for limiting redemptions. | Example: |
Maximum Offer Uses Per Member | Integer | Optional | Total redemptions per member for the entire duration. | Leave blank for unlimited. |
Minimum Purchase Value | Text Input (Currency) | Optional | The order must meet this value before the discount can be applied. | Example: |
Day-part Limits | Time Range Selector | Optional | Restricts offer usage by time of day and day of week. | Example: |
Expiration | Dropdown | Optional | Controls how and when the offer expires. | See detailed options below ⬇ |
→ No expiration | Option | — | The offer will remain active indefinitely. | Useful for evergreen offers, but not advised for unlimited use cases. |
→ Expires on fixed date | Option + Date Picker | ✅ if chosen | Sets a specific calendar date, time, and timezone when the offer expires. | Example: Expires on 12/31/2025 at 12:00 PM America/Los_Angeles. |
→ Expires after earned | Option + Duration | ✅ if chosen | Sets expiration based on the number of UTC days or hours after the offer is earned. | Example: Expires 7 days after earning. |
→ Expires after first presented | Option + Duration | ✅ if chosen | Sets expiration based on the number of UTC days after the offer is shown to the member. | Example: Expires 3 days after being shown. |
Registered Member Use Only | Toggle | Optional | Restricts the offer to registered loyalty program members only. | ON = members only. |
Participating Locations | Store Picker / CSV | ✅ Yes | Select stores or upload list for offer availability. | Max 250 stores or all stores. |
Advanced Settings
Setting | Type | Default | Description | Help Link |
|---|---|---|---|---|
Exclude Modifiers in Discount | Toggle | ON | Excludes item modifiers from the discount calculation entirely. | |
Apply Offer to Lowest Value Item | Toggle | ON | Applies the discount to the lowest-priced eligible reward item in the group. | |
Sum Parent & Modifiers for Discount | Toggle | ON | Combines the base item and its modifiers when determining eligibility or discount value. |
