Spendgo Offers
Spendgo Offers enables brands of any size to engage their customers with personalized rewards they really want directly in their Member profiles without any need for coupon codes. With seamless integrations across various touchpoints, including point-of-sale (POS) systems, e-commerce platforms, email, sms, mobile apps, curbside pick-up, table service, and more, we ensure customers can earn and redeem rewards at every touchpoint.
In this article, you will learn the basics of Spendgo Offers and how you can use them to engage members.
Things to Know
Some 3rd-party POS integrations require a discount code to be mapped to the offer for it to be redeemed. Please see your 3rd-party provider guides for requirements.
Spendgo Offer Stacking Is Not Supported
Spendgo does not allow multiple Spendgo offers to be applied in a single transaction. A guest can only use one Spendgo offer at a time, even if they’ve earned several.
However, non-Spendgo offers (like external coupon codes or manual discounts) can be stacked depending on your POS capabilities. But combining those with a Spendgo offer is up to your system rules.
Why We Don’t Recommend Offer Stacking
Stacking leads to:
Higher discounts per visit
Reduced guest frequency
Lower ROI on promotions
Example:
If a guest earns two $5 Spendgo offers and uses them together, that’s a $10 discount in one visit—when ideally, you want them coming in twice.
Reward Stacking vs. Points Banking
Spendgo rewards also can’t be stacked (i.e., you can’t apply two $5 rewards together). But we do offer a Points Banking program that gives guests control over their redemptions through higher-denomination reward tiers.
Example Points Banking Structure:
$25 Reward = 500 points
$50 Reward = 1000 points
$75 Reward = 1500 points
$100 Reward = 2000 points
Guests can bank points and redeem for the amount that fits their order—no stacking needed.
Whether you're clearing inventory, upselling, rewarding your most loyal Members, or pursuing other objectives, when you create an offer in Spendgo, you have the flexibility to design offers that align with your various business goals. To create an offer, you’ll always begin with selecting an Automation trigger to create a Campaign; this defines the specific event or condition that will make the offer available to your audience.
Offer Type Options
Some Automations may not have all the offer types. To find out what offer types are available per campaign automation, check out each of the offer types pages for more details.
Add Points — An offer that allows you to give out fixed number of points.
BOGO — A buy one, get one item free.
Dollar Discount ( $ ) — A fixed-value discount that subtracts a specific dollar amount from a member’s purchase total. Versatile enough to support direct discounts or structured promotions like "Buy X, Get $Y Off.”
Percentage Discount ( % ) — A variable-value discount that subtracts a percentage amount from a member’s purchase. Versatile enough to support direct discounts of individual items, the entire check, or structured promotions like "Buy 2 X, Get Y% Off.”
Free Item — A free item allows you gift an item.
Multiply Points — An offer that multiplies the points earned on a Member’s purchase.
Price Adjustment — An offer which allows you to set a lower price for items a defined in an item group.
Create an Offer Campaign
Navigate to Campaigns / Create.
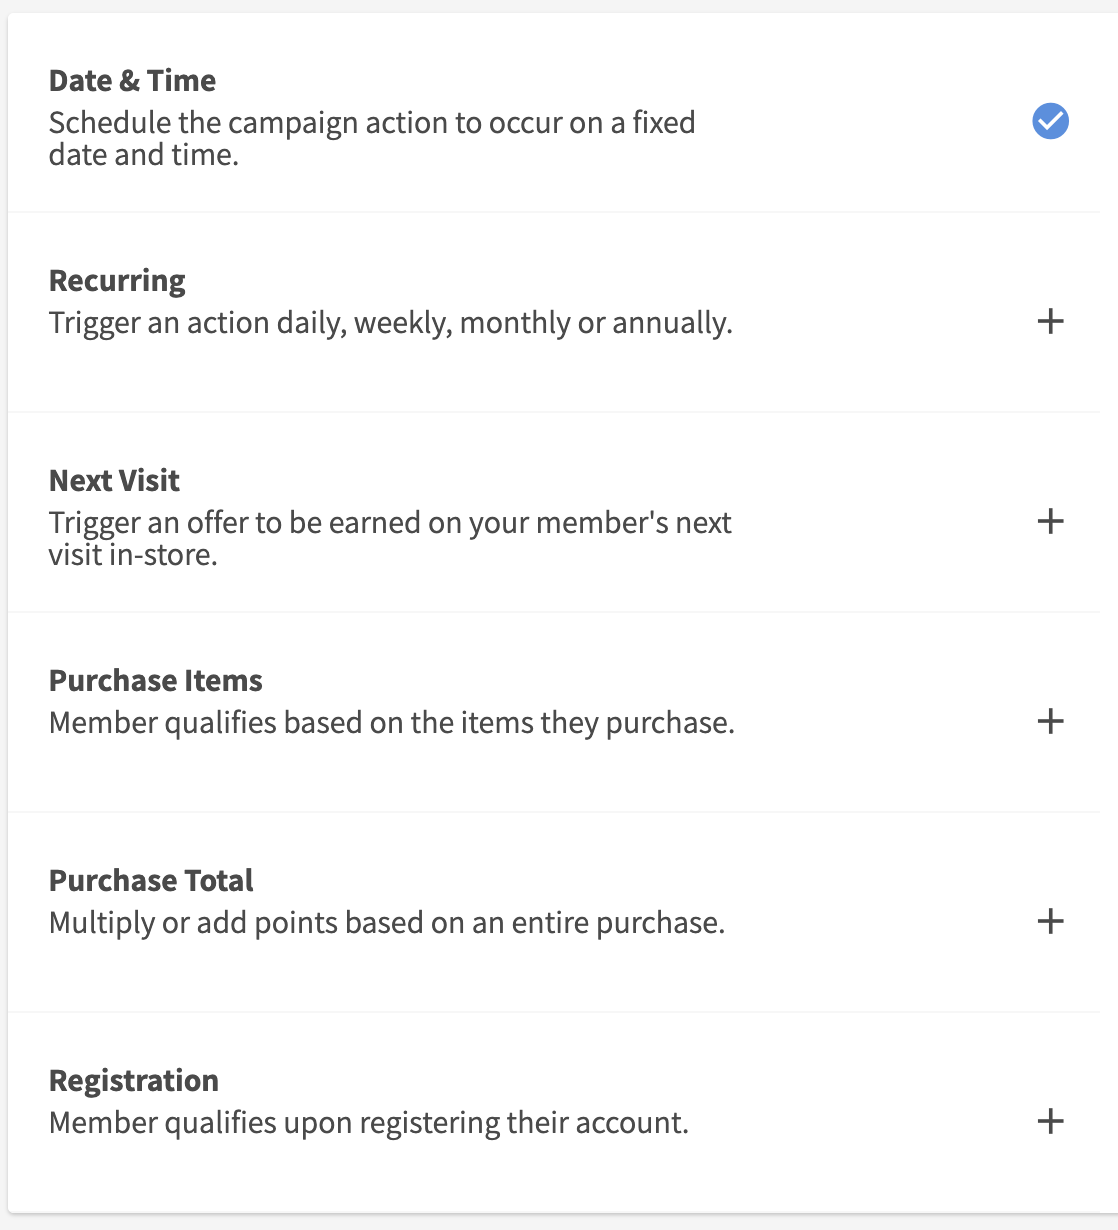
Choose your Automation and click Next Step.
Choose the Offer action.
Notes: some automation will automatically navigate you to the offer setup when no other action options are available.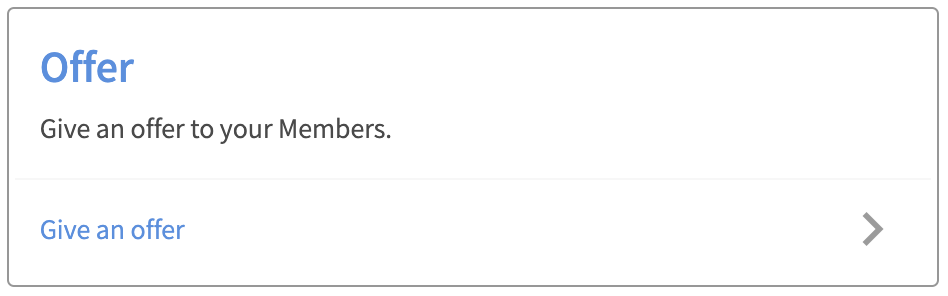
Choose your Offer Type.

Define your offer parameters and click Next Step.
See Offer Configuration Options for details on how to configure your offers.
Notes: the campaign builder will determine for you which fields are required and options for your offer type selection. Enter all required fields displayed.Set your target audience.
Notes: the audience step is only relevant for Date & Time and Recurring automation types. All other automation types are triggered based on when the member meets the event criteria.To target all members, leave the audience Segment OFF.
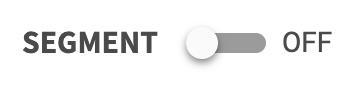
To target a specific audience, turn Segment ON. Select an existing audience or create a new audience within the builder.
Click Next Step.
Enter a unique Campaign Name for your internal reference.
Schedule your campaign Start Date and time.

(Optional) Schedule your campaign End Date and time. If this is not defined, you campaign will be ongoing with no end date.

Review your campaign details and click on Schedule to create your new campaign.